Monday 3 November 2014

Pumpkin Waffles... is it comparable to True Belgian Waffles?? You judge ...

I still have some pumpkin left and I decided to do something different. Pumpkin Waffles, yes, that’s right. However, I chanced upon a waffle recipe from Taste of Home which have in fact captivated me instantly. I have wanted to try it immediately. It’s True Belgian Waffles, but what about my pumpkin puree??? ... Eh..., I can actually add pumpkin puree to this recipe, right? However, I have no idea how a True Belgian Waffles really taste like; without the addition of pumpkin. So, is there anyone who have tried this True Belgian Waffles without any modification? Anyway, I will do this waffles again without the pumpkin puree and will update you all on this.
Overall, I can tell you, this pumpkin waffles is really very very yummylicious and my girls and hubby giving all thumbs up for this. They prefer this pumpkin waffles to the normal waffles version which hubby used to make for us.  Hubby enjoys making pancakes and waffles for us on weekends and holidays and usually we would wake up to the sweet aroma of his bakes feeling so blessed and loved :)  Now hubby wants to bake this version instead of his usual ones, hahaha...

Recipe source : Taste of Home (with some minor modification in red)
Ingredients :
- 2 cups all-purpose flour
- 3/4 cup sugar (I used ½ cup)
- 3.5 teaspoons baking powder (I used 1 tsp double acting baking powder)
- 2 eggs, separated
- 1.5 cup pumpkin puree (steamed and slightly blended)
- 1.5 cups milk
- 1 cup butter, melted
- 1 teaspoon McCormick® Pure Vanilla Extract (I omitted)
- Sliced fresh strawberries or syrup, honey


Yield : 14 mini waffles
Directions :
1) In a bowl, combine flour, sugar and baking powder.
2) In another bowl, lightly beat egg yolks.
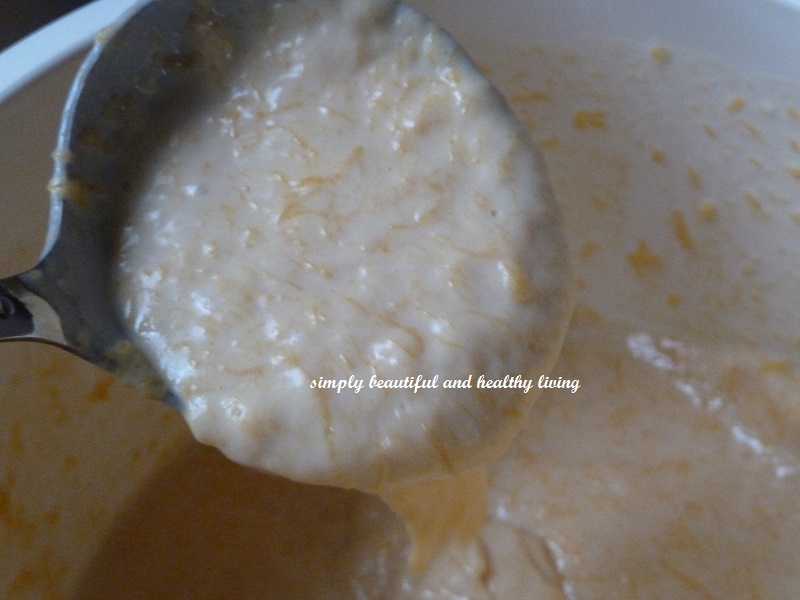
3) Add pumpkin puree, milk and butter; mix well.
4) Stir into dry ingredients just until combined.
5) Beat egg whites until stiff peaks form; fold into batter.
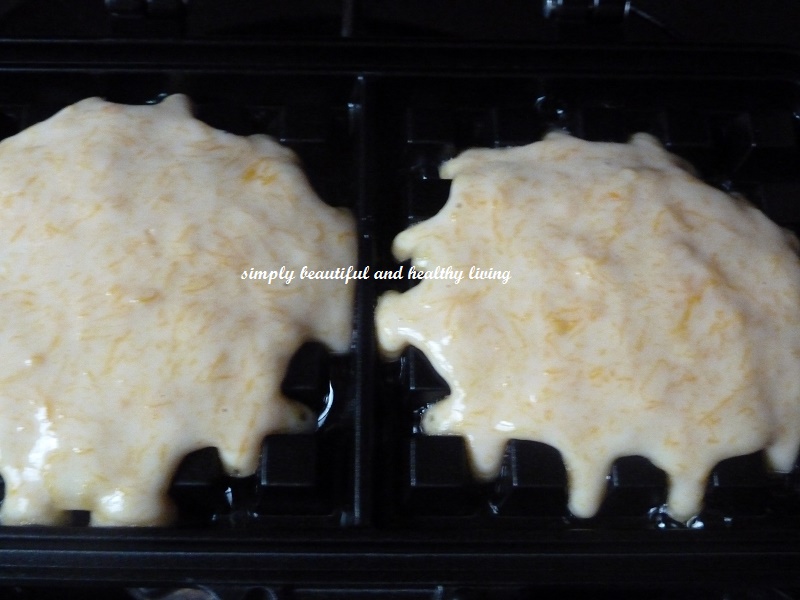
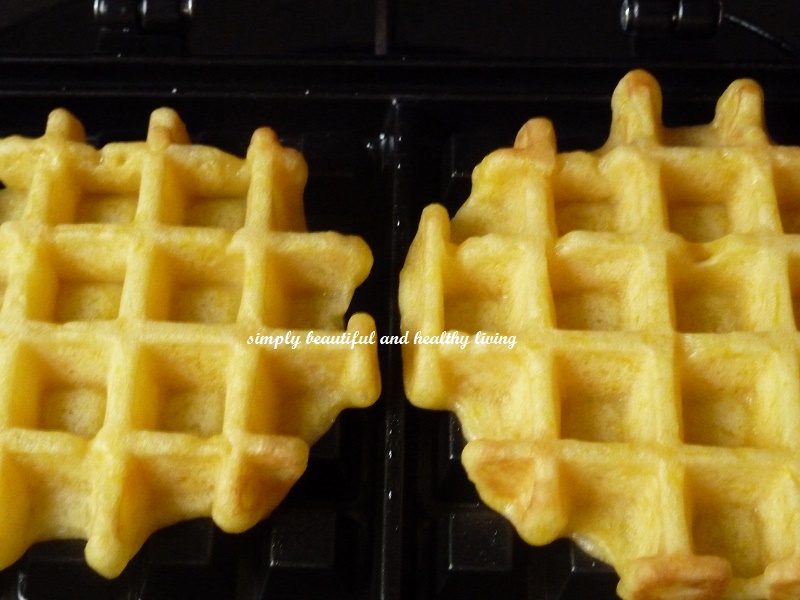
6) Grease preheated waffle iron with butter and bake according to manufacturer's directions until golden brown.
7) Serve with strawberries, maple syrup or honey.


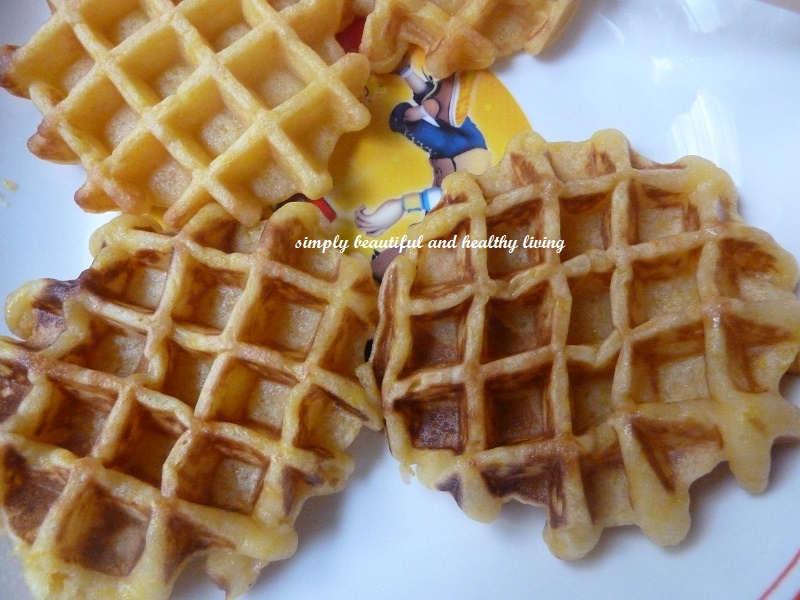
It’s great to serve this waffles warm with maple syrup or honey
Top it with your favourite fresh fruits....

Isn’t this a very satisfying and heartwarming breakfast for your family??

Do have an enjoyable week!


I am submitting this post to "My Treasured Recipes #3 - Taste of Autumn (Oct/Nov 2014)" hosted by Miss B of Everybody Eats Well in Flanders and co-hosted by Charmaine of Mimi Bakery House.


To receive new updates, do LIKE SIMPLY BEAUTIFUL AND HEALTHY LIVING on FACEBOOK. Thanks for visiting my blog and leaving comments. I really appreciate all your visits and comments! Have a nice day :)

Wednesday 29 October 2014

Steamed Scallion Flower Rolls/Buns (花卷)

Last week I harvested a big bunch of scallions from my mini edible garden.  I have been quite eager to try Steamed Scallion Flower Rolls when I first chanced upon it in Facebook. Then, I happened to see a post by Kit quite sometimes back.  In fact, this is one of  the many recipes which I have been procrastinated but this time around, without any hesitation, I went into action and finally, I am happy to say that the buns turned out very successful and delectable too!!!  
Recipe source : Kit
Ingredients :
- 1/2 packet yeast
- 3 cups pau flour
- 1 cup of warm milk
- 6 tbsp sugar
- ¼ cups vegetable oil ( I used sunflowers oil)

For the glaze:
- 3 tbsp chopped scallions
- 1 small carrot ( shredded) (I omitted)
- ½ tsp salt
- ¼ tsp sugar
- 2 tbsp sesame oil

Method :
1) I used bread machine for the dough. Add ingredients as per your machine instruction to form dough and let it proof.

2) While waiting for your dough to proof in the machine, mix all the ingredients for the glaze and set aside .

3) Knead the dough again before dividing it into 12 egg sized pieces.

4) With a rolling pin, roll each pieces of dough into a long oval. Brush with glaze and make few slits.

5) Twist the dough and shape into a knot.


6) Place on square parchment paper . Cover and proof the buns again for 40 to 60 mins .

7) Steam the buns in steamer for 10 to 13 mins.

The bun is very smooth, soft and fluffy
We had this for lunch...
Best served warm
Great for breakfast too


To receive new updates, do LIKE SIMPLY BEAUTIFUL AND HEALTHY LIVING on FACEBOOK. Thanks for visiting my blog and leaving me comments. I really appreciate all your visits and comments! Have a nice day :)

Thursday 23 October 2014

Red Bean Paste Rolls using Straight Dough Method

As mentioned earlier in my post on Garlic Butter Bread, I have numerous bread recipes which are waiting for their turn to greet you all.
 Garlic Butter Bread
   Click at the link for the recipe : Garlic Butter Bread

Hence, here is another home made bread which we love very much.

I used the leftover red bean paste from my previous Easy Snow Skin Mooncake.
 Easy Snow Skin Mooncake

This recipe was adapted from Bread Magic Vol 6 page 37 on Black Date Rolls. Instead of black date, I substituted the fillings with red bean paste. Eh... not bad! My girls love the red bean paste and they gave me all thumbs up for this bread.

Red Bean Paste Rolls
Recipe source : adapted from Bread Magic page 37 with some minor modifications in red
Ingredients (A) :
- 330 high protein flour
- 1.5 tbsp milk powder
-1/2 tsp salt
- 60g caster sugar
Ingredient (B) :
- 1 egg (grade B)
Ingredients (C) : Mixed together
- 120ml water
- 10g instant yeast
Ingredient (D) :
- 40g butter

Ingredients for Filling : Mixed together
- 250g black date paste (I used red bean paste)
- some sesame seeds
Glazing :
-1 egg (beaten)
Topping :
- some sesame seeds

Method :
1) Combine ingredients A together in a mixer. Slightly blend it before adding ingredients B and C.

2) Beat approximately 5 minutes to form a dough.

3) Add butter and continue to beat until the dough is smooth. To check whether the dough is fully developed, stretch a small piece with your fingers to see if it can be stretched into thin layer without tearing it. If it does not stretch, continue beating again until it passes the stretch.

4) Remove dough and leave it in a big bowl, cover with a piece of damp cloth. Leave bowl in a warm place and proof dough for about 30-40 minutes till doubled in size.

1-4) I used bread machine to knead the dough. Just put the ingredients as per your machine instructions and let it proof. After the 1st proofing, take the dough out from the machine.

5) Scale dough at 60g portions. Shape them into small balls and let them rest for 5 minutes.

6) Flatten and roll each ball of dough and place filling, seal and wrap into a ball.

7) Roll flat once more and make several slits. Roll up and place on a greased baking try or pan. Repeat the above process with the rest of the dough. Cover with a damp cloth and leave them for 45 minutes or more for a second time proofing.

8) Once they are doubled in size, glaze with egg wash and sprinkle top with some sesame seeds.


9) Bake in a preheated oven at 180°C for 12-15 minutes depending on individual's oven. So, do adjust the temperature and timing accordingly.

10) Remove and cool on wire rack.


The bread is soft and fluffy


My girls and hubby complimented that this homemade red bean paste rolls is better than those bakery shops

With the increasing cost of living, isn't it cheaper to make your own bread?

Do enjoy baking your own  home baked bread with your family members!


I am linking this post to Cook-Your-Books #17 @ kitchen flavours

To receive new updates, do LIKE SIMPLY BEAUTIFUL AND HEALTHY LIVING on FACEBOOK. Thanks for visiting my blog and leaving me comments. I really appreciate all your visits and comments! Have a nice day :)