Showing posts with label Cakes. Show all posts

Friday 11 July 2014

Rolled Oat Apple Bread/Cake

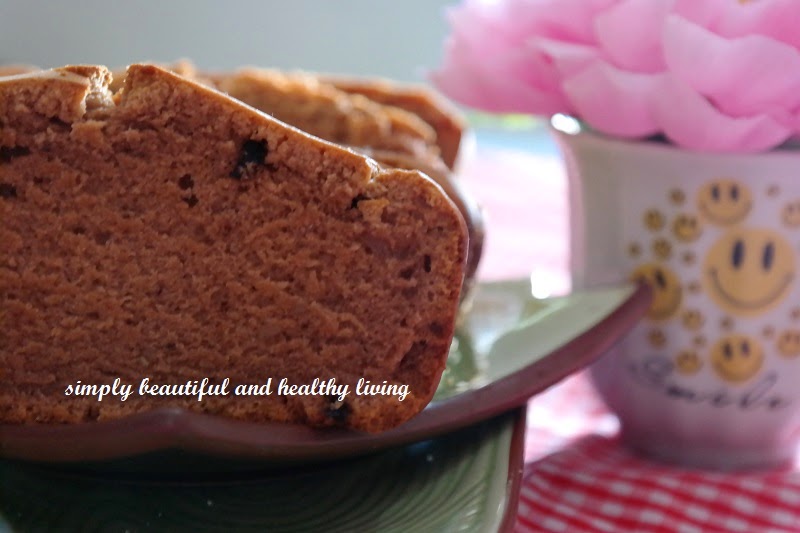
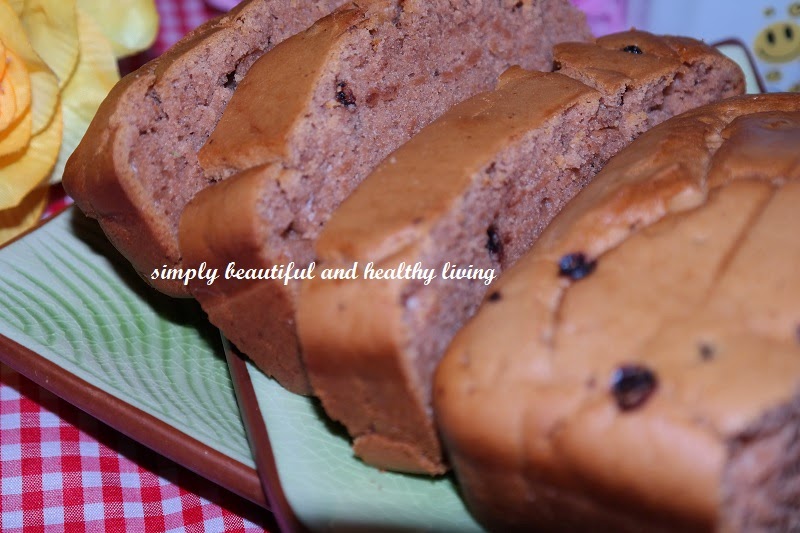
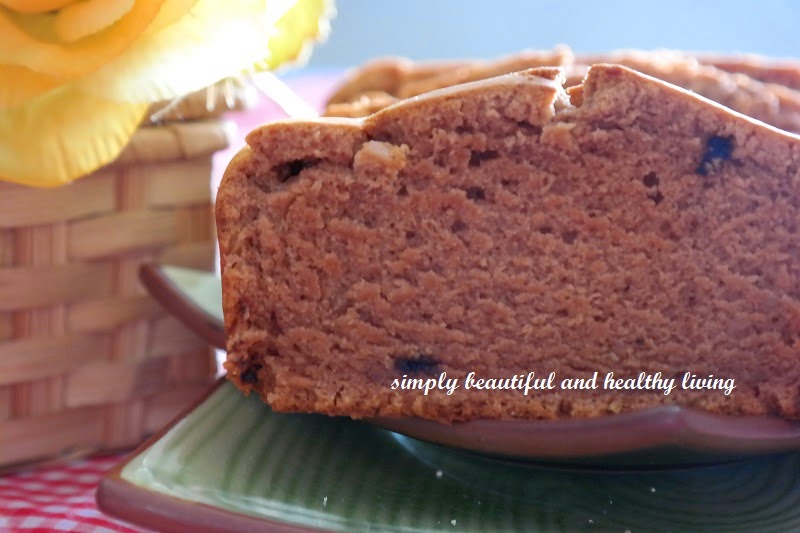
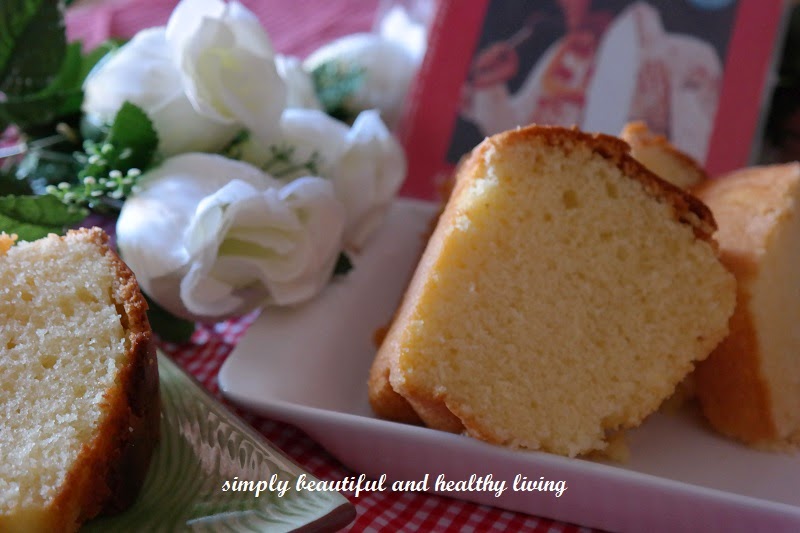
Who doesn't like quick and easy as well as hassle-free baking?  As for me, I am always on the look out for such recipes.  Moreover, when comes to baking, I am hopeless. So when I happened to see Ann's Oat and Pear Bread, wow, I told myself, this is indeed absolutely easy peasy and even no kneading or bread machine is needed!  That means, less washing, hehehe... Without wasting anytime, I immediately tried my hands at it that very night with whatever ingredients that's available.  

Luckily I still have rolled oats in the pantry as nowadays I used to have overnight oat for breakfast.
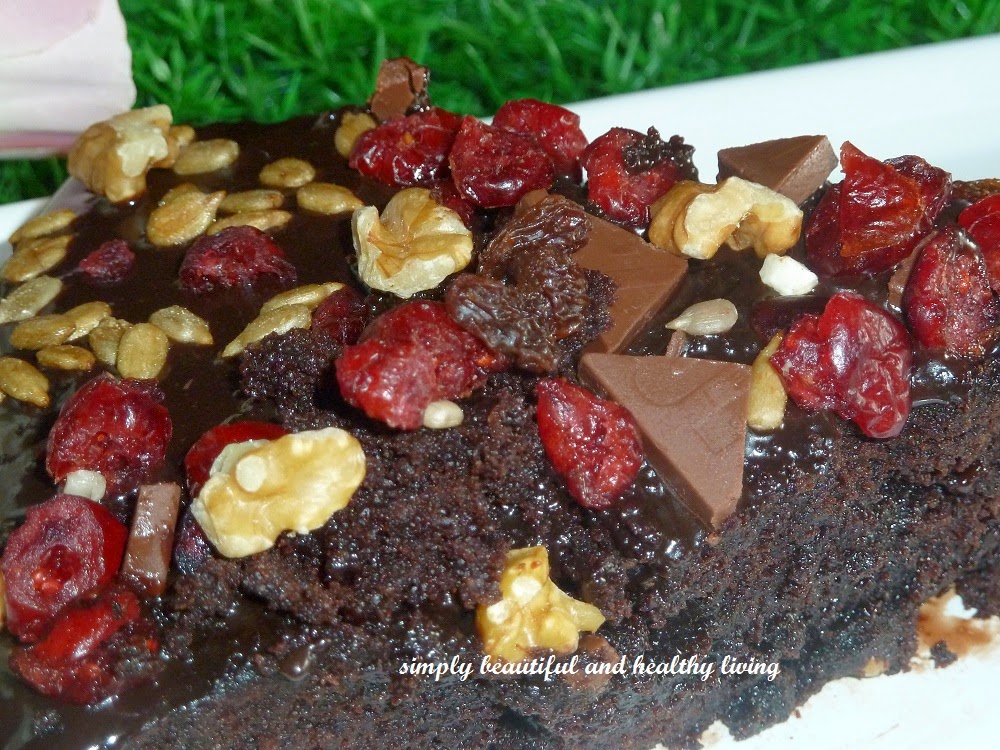
A peek at my usual healthy breakfast which consists of overnight oat

Overall, the bread or should I say cake (as the crust tasted like bread but inside it tasted like cake) is good and healthy too. The bread cake is more yummy the following day. It's soft and moist. Give this a try if you need something fast and quick for breakfast the next morning. Thanks Ann!

So, here is the recipe with some modifications according to my available ingredients, hehehe...
Ingredients:
- 1 cup milk
- 65g rolled oats
- 60g butter (softened)
- 1 egg (lightly beaten)
- 60g sugar
- 1/2 tsp vanilla extract
- 175g self raising flour
- 1 tsp baking powder
- 3 chopped red apples

Method:
1)  Preheat oven to 180C. Grease  pan with butter.

2) Combine and mix milk and rolled oats in a large bowl. Set aside for 30 minutes to soak.

3) Add butter, egg, sugar and vanilla to oat mixture. Stir to combine. 

4) Sift flour and baking powder over oat mixture. 

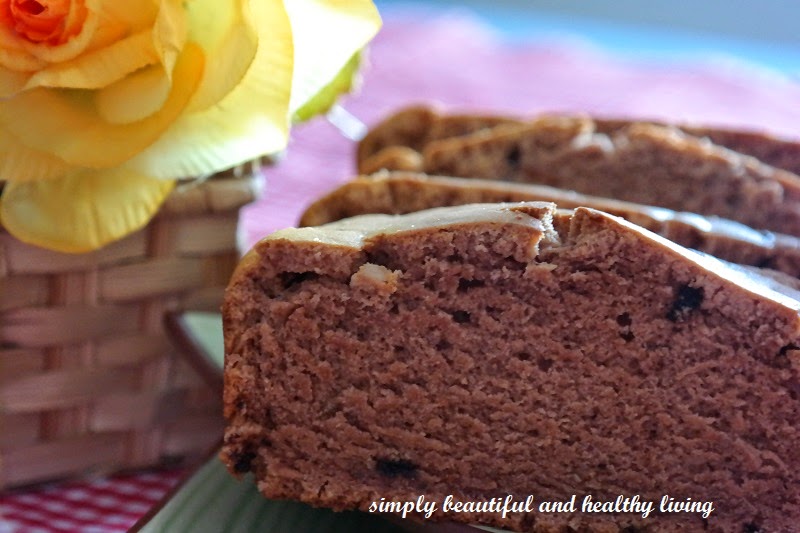
5) Add chopped apples and stir to combine.

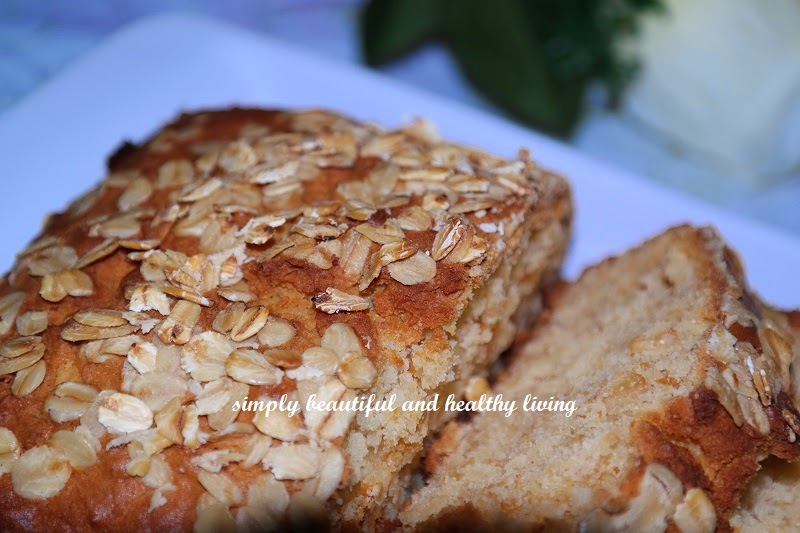
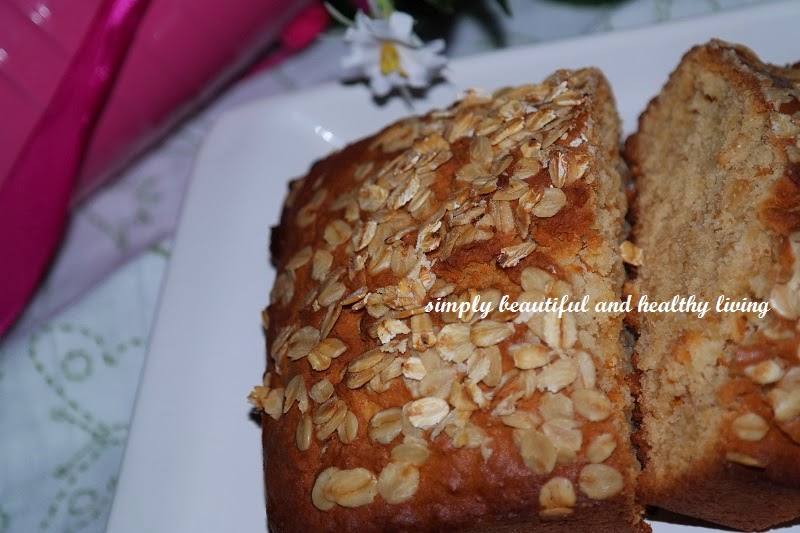
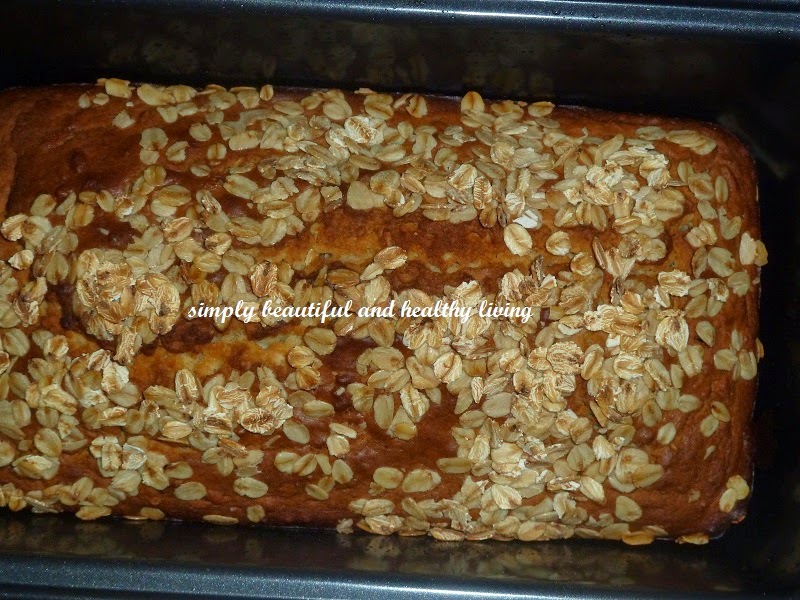
6) Transfer mixture into greased pan. Sprinkle extra oats on top. 

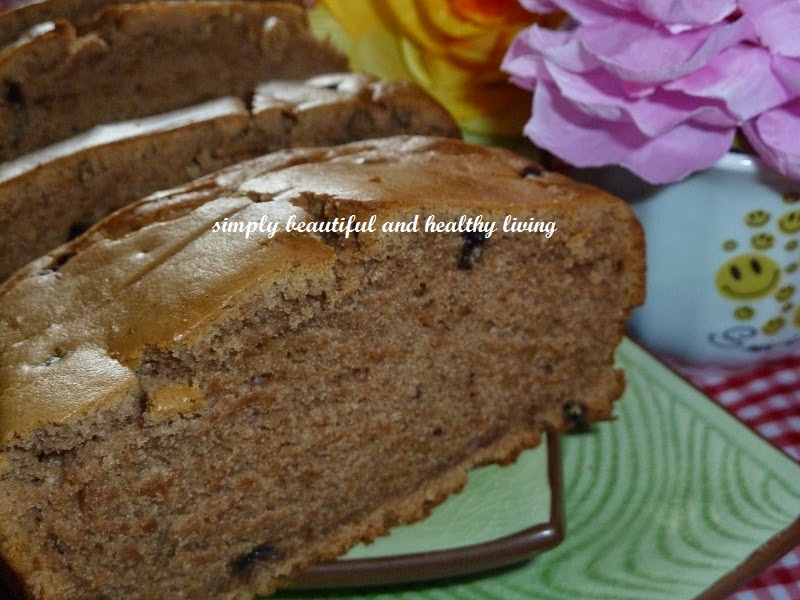
7) Bake for 45 minutes or until skewer inserted in the centre comes out clean. 
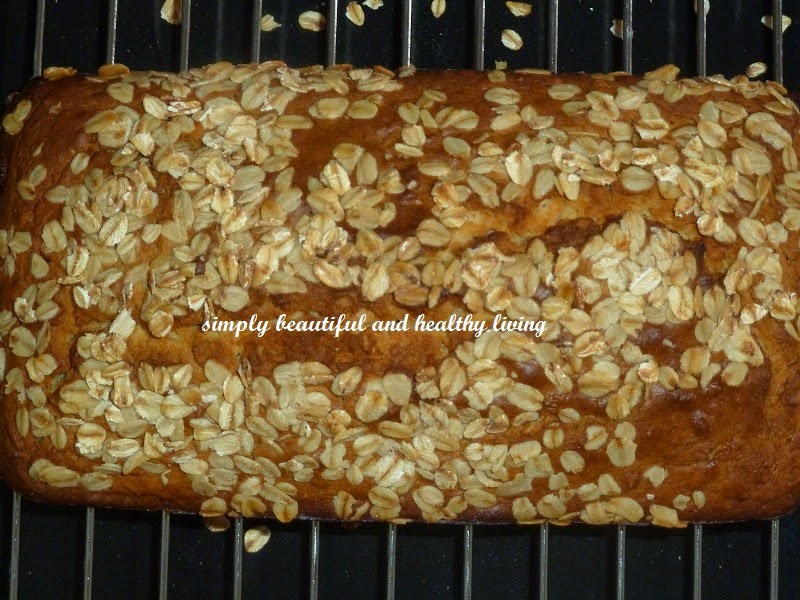
8) Stand in pan for 10 minutes. Turn out onto a wire rack to cool.   
Serve
Do enjoy  :)


To receive new updates, do LIKE SIMPLY BEAUTIFUL AND HEALTHY LIVING on FACEBOOK. Thanks for visiting my blog and leaving comments. I really appreciate all your visits and comments! Have a nice day :)

Monday 23 June 2014

Two-Ingredient Ice Cream Bread -The Picnic Game 2014 (2)

I first came across this recipe in Facebook and was quite skeptical about its two-ingredient recipe. Using ice cream and only self-rising flour for baking a bread? Someone must be kidding!  So, I wouldn't want to be tricked into it, hence, I googled for 2-ingredient ice cream bread and there, I found it all over the net! True enough, this recipe seems to be quite popular among food bloggers (how can I miss this?).  
So, I tried adding some salt to it. To me, it sure tastes better as a tinge of salty flavor goes well with the sweet taste of ice cream. This is just my personal opinion and preference.

Without wasting any time, I just made do with whatever ice cream I had in my freezer. Lady luck was on me and I still had a new tub of vanilla flavored ice cream with chocolate, cashew nuts and chocolate chips in the freezer.
This quick bread is so easy peasy and even my girls can also do it.  It tastes and looks like cakes, but who cares as long as it is quick and easy.  Besides, it's great for children to try their hands in baking too.

I am going on a picnic and I am bringing..... 
B - Basil Leaves in Caramelized Prawns
C - Chicken Piccata
D - Darned Easy Potato Salad
E - Eccles Cakes filled with Leeks, Spinach and Blue Cheese
F - Fourth of July Picnic S'more Tartlets
G - Gluten-free & Eggless Chocolate Steamed Cake
H - Ham Cheesy Patties
I - Italian Frittata with Vegetables
J - Jelly Roll
K - Kahlua Zucchini Chocolate Chunk Bread
L - Lemon Lavender Cupcakes
M - Meringue Roulade with Raspberries
N - Nutella Rice Pudding
O - Old-Time Favorite Iced Red Bean Popsicles
P - Pickles
Q - Quinoa Blueberry Mango Salad
R - Raspberry and Fig Cobbler
S - Strawberry Cheesecake Ice Cream
T - Two-Ingredient Ice Cream Bread
U - Uninvited Smashed Potatoes
V - Vegan Mango Salsa
W - Watermelon Salad
X - X'mas Coconut Wreath Cake
Y - Yellow Squash Crustless Quiche
Z - Zucchini Cake-Double Chocolate

Ingredients:
- 2 cups ice cream - softened at room temperature (any flavor)
- 1.5 cups self-rising flour
- 1/2 tsp salt (optional)
Instructions:
1) Preheat oven to 180 degrees C. Grease an 8" or 9″ loaf pan with butter.
2) Stir ice cream until smooth. Then, add self-rising flour and salt.
3) Stir until well combined.
4) Transfer batter to prepared greased pan.
5) Bake in preheated oven for approximately 45 minutes, or until top is golden brown or when toothpick inserted in center come out clean.
Serve this amazing ice cream bread with your favorite hot coffee
This ice cream bread is slightly moist and soft.
Great to bake this 2-ingredient bread if you are in a hurry and need something quick for tea
Will definitely try this again with different flavor of ice cream
and you may also add your favorite nuts and even raisins into the batter
Oh yeah, the next round I am going to enjoy it with a scoop of ice cream on top too.  Yeah!
Here's your share.  Enjoy :)


To receive new updates, do LIKE SIMPLY BEAUTIFUL AND HEALTHY LIVING on FACEBOOK. Thanks for visiting my blog and leaving comments. I really appreciate all your visits and comments! Have a nice day :)

Monday 5 May 2014

Elvis Presley's Favourite Pound Cake

Are you a fan of Elvis Presley???? I AM!!! Yes, I AM a big fan of Elvis Presley… Who else??? Wow, clap, clap , clap!!!! I can see all hands are high high up!!! Ok, ok, ok…. I see all your hands…! Yes, I think it’s almost impossible to see anyone, who is in that era, not a fan of Elvis Presley. He’s our evergreen idol but too bad, he left us at the age of 42 on August 16, 1977 in the bathroom of his Graceland mansion in Memphis, Tennessee.

With compliments from Shane Lee :)

We all enjoy Elvis Presley’s music but what about his favorite cake? Well, thanks to my friend, Shane Lee. He seeing my new interest in baking, gave me a recipe to try out.
It was Elvis Presley's favourite pound cake, baked by his mom, Gladys, and later his personal cook.
Overall, the cake was simply delicious and great to have it with a cup of hot coffee and it was even more delicious the following day!
It's just simply delicious

The bottom of the cake doesn't look that nice.

So here's Elvis Pound cake, with Shane Lee’s compliments

ELVIS PRESLEY'S FAVOURITE POUND CAKE
- 3 cups granulated sugar (I used 2 cups only)
- 1/2 pound butter, softened
- 7 eggs, at room temperature
- 3 cups cake flour, sifted twice, divided
- 1 cup whipping cream
- 2 teaspoons vanilla extract (I used vanilla essence)

Method :
1) Butter and flour a 10-inch tube pan.
2) Thoroughly cream together sugar and butter.
3) Add eggs one at a time, beating well after each addition.
4) Mix in half the flour, then the whipping cream, then the other half of the flour.
5) Add vanilla extract. Pour batter into prepared pan.
6) Set in a COLD oven and turn heat to 350 degrees F. (I set at 160 degrees Celsius as my oven heated quite fast. So, adjust the temperature accordingly ).
7) Bake 60 to 70 minutes, until a sharp knife inserted in cake comes out clean.
8) Cool in pan 5 minutes. Remove from pan and cool thoroughly.

Wishing all of you a very happy and wonderful week ahead :)

Do take note that I am experimenting taking pics with 2 different camera. That's why you can notice the difference tone of the images. Which one do you prefer?
The clear sharp images or....
the special effect with blur background images? 
Your opinion is highly appreciated :) Thanking you in advance!


To receive new updates, do LIKE SIMPLY BEAUTIFUL AND HEALTHY LIVING on FACEBOOK. Thanks for visiting my blog and leaving me comments. I really appreciate all your visits and comments! Have a nice day :)

Tuesday 18 March 2014

2nd Blogoversary and My Maiden Attempt in Chocolate Cake

Unbelievable!!! Today, 18 March 2014, without realizing it, Simply Beautiful and Healthy Living is in her 2nd year. Well, time passed by without my knowledge and honestly speaking, when I first started blogging, I had neither goals nor expectations. I was merely blogging for fun and for my eyes only (syiok sendiri, hehehe). I had no idea or knowledge that as a blogger, I need to do some blogwalking and knock at other bloggers’ doors! I just blog whatever that comes into my mind and expect other bloggers to read what I wrote!! So naive!!! As time goes by, I realised that in order to attract comments to my posts, I need to put comments on other blogs. Since then, I get to know some bloggers who are so kind enough to pay me a visit and left their fingerprints and some even their footprints! Most importantly, I have made some great friends along the way. Initially, I only blogged on healthy living and later I had the courage to blog on food. Gradually, I found myself loving blogosphere more and more.
  Klik hier voor meer gratis plaatjes
I am proud to say that I take pride in surviving into my 2nd year of blogging. Over time and along the way, I am lucky to meet and get to know some very good blogger friends who have constantly give me sweet compliments and encouraging words. Without these regular followers and readers, I won’t be here today. A very BIG THANK YOU to all of you who have taken your time to drop by and commented on my postings. You all are my biggest inspiration for better improvement!
women16.gif
Blogging does take up a lot of my time. Besides being a working mum and wife, I still managed to steal some time for blogging. At times, no doubt I feel very tired, however, I am still motivated to blog when seeing my fellow blogger friends tirelessly giving me encouragement and motivation to move on. I am also glad to say that on my blog’s  1st blogoversary, there were 29,982 page viewers. However, today, exactly 2 years, the page viewers of Simply Beautiful and Healthy Living has soared to 171,030! Without your support, I won’t be this far!

Once again, my BIG THANK YOU and gratitude to each and everyone here who takes a little time out of your busy schedule to read and put comments on my posts. It really means the world to me. At the same time, I always love reading all your comments too. Thank you everyone for your generous and tireless support! 
thanks-a-latte.gif
Another good news is that, today I'm also glad that I get to share with all of you my very first cake which turned out to be quite successful and delectable too; recipe courtesy of MamaFaMi. How is my STEAMED CHOCOLATE CAKE??? Passed??? hahahha…
9.gif
I am even more thrilled about this post as the photo shooting turned out to be not too bad lah, hehehe. My photography skill has improved too over the years, hahahaha… (*So vain!) Most importantly, hubby and my two girls gave me their two thumbs up.
This is my first maiden cake post and frankly speaking, I am instantly encouraged by the end result of this awesome and delectable maiden chocolate cake! Ahem…. feeling happy and proud of it…. aiyoh, so egoistic, hehehe…..
*Remember to be patient when waiting for the cake to set.  Don't be like Ivy, a bit impatient to cut the cake when it was not completely set yet. Notice the runny chocolate at the bottom of the cake? Hehehe... so, please be patient...:)*

This cake is indeed very simple and easy to make and for those who have countless cakes ended up in the garbage bins (*wink* who else, but yours truly!), this cake will be in no time ended up in your tummy and it’s a sure fail-proof! MamaFaMi, thanks for your recipe!
Ingredients :
(A)
- 1 cup cocoa powder
- 1 cup sugar
- 1 cup evaporated milk
- 1 cup corn oil
- 1/2 cup condensed milk
(B)
- 3 eggs
(C)
- 1 cup self raising flour

Method :
1) Mix ingredients (A) and cook in double boiler until sugar melt.
2) Let it cool completely.
3) Beat 3 eggs (B) until light and fluffy and add in to the cocoa mixture.
4) Fold in 1 cup self raising flour (C) and mix well.
5) Grease cake tin, pour in the batter and cover with aluminium foil.
6) Steam for 45 minutes.
7) Cool the cake completely at room temperature.

Topping :
- 1 cup chopped chocolate
- 2 tbsp butter
- 1/2 cup condensed milk

Method :
1) Mix all together and cook in double boiler.
2) Pour on top of the chocolate cake.
3) Chill the cake in the refrigerator until the topping is set.


I topped it with pieces of chocolate and some mixed dried fruits

The cake is so moist and tempting
If Ivy Sew can do it, so CAN YOU!!!
Have a wonderful week ahead and cheers :)