Ginger Chicken Wine is usually labelled as confinement food for ladies during confinement period due to its efficiency in expelling wind and helps to strengthen the body. There are a few versions of ginger chicken wine and for those who have yet to try the other version, do click at the links below for the recipe :

.JPG)

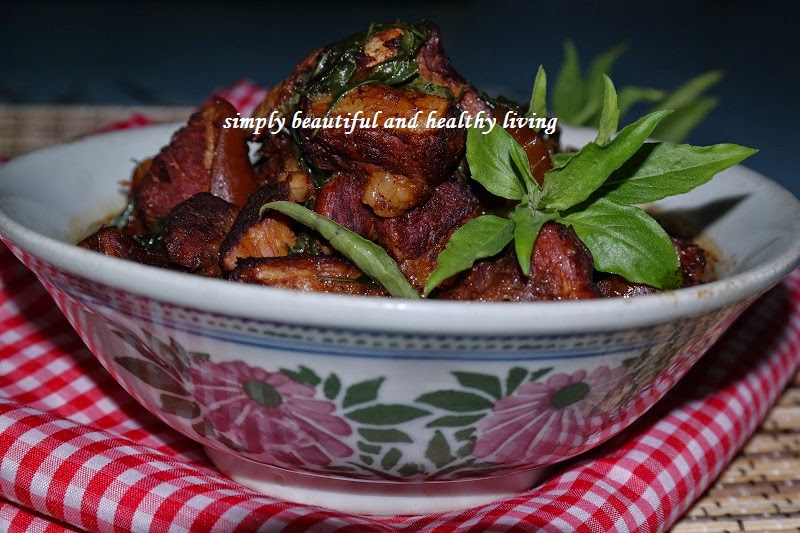
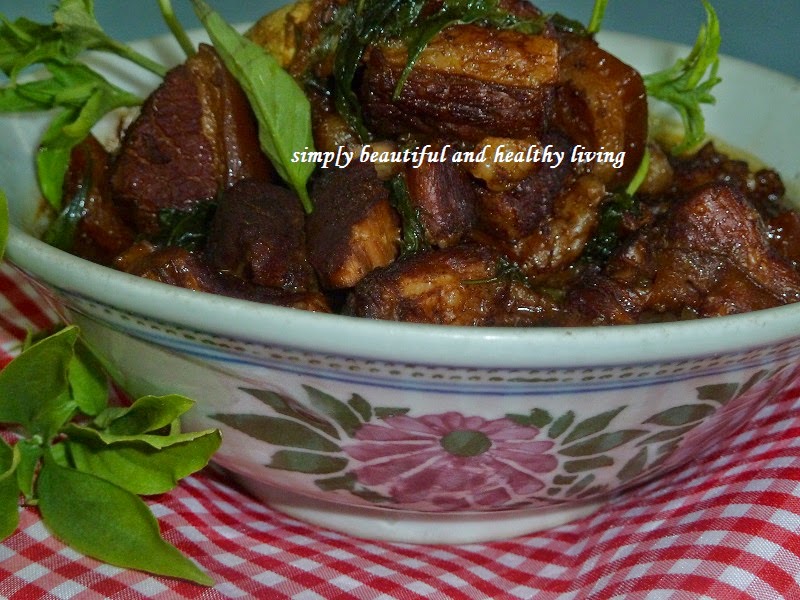
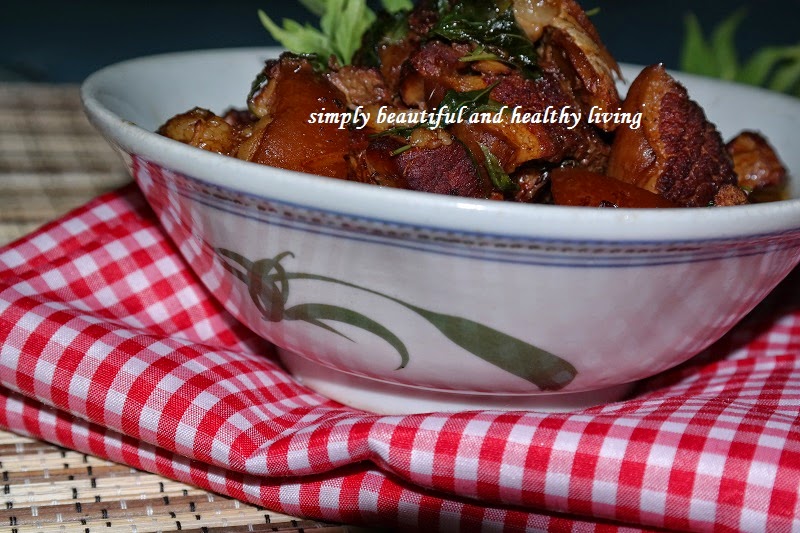
Ginger Chicken Wine
(adapted from Boon's Secret Recipe 2 with some minor modifications in red)

Ingredients :
- half free ranged chicken (chopped into bite pieces and marinated for one hour)
- 1 bowl of old Bentong ginger (sliced)
- 2 whole bulbs of garlic (peeled and leave as whole)
- 300ml water (or more if you prefer extra gravy)
- 1 tbsp sesame oil
Marinade :
- 1 tbsp oyster sauce
- 1/2 tbsp cornflour
Seasoning A :
- 1 tbsp oyster sauce
- 1 tsp dark soy sauce
Seasoning B :
- 4 tbsp of Chinese cooking Wine (I used Hua Tiao Chiew)
- 4 tbsp of Ginger Wine (I used Eu Yang Sang)
Method :
1) Heat wok with one tablespoon of sesame oil. Saute ginger and garlic till aromatic.
2) Stir in marinated chicken and stir fry till chicken meat has turned whitish.
3) Add water and seasoning (A). Bring to boil and turn to low heat. Simmer for 25 minutes or until the chicken meat is tender and cooked.
4) Add in seasoning (B). Stir and mix well.
5) Dish up and serve with hot steamed rice.

Serve with hot steamed rice

Hope you all have a wonderful and healthy week ahead :)

I'm linking this post with Cook-Your-Books #16 @ kitchen flavours